Curtains can add a touch of elegance and warmth to any room, but to hang them properly, you need the right curtain rail. Whether you're a seasoned DIY enthusiast or a novice looking to spruce up your living space, this comprehensive guide will walk you through installing a curtain rail step by step. From choosing the right rail type to finishing your installation, we've got you covered.
Types of Curtain Rails
Before diving into the installation process, let's take a moment to explore the different types of curtain rails available:
-
Traditional Rods: These are classic silver curtain pole consisting of a straight or curved rod that holds the curtains in place with the help of rings or hooks.

-
Track Systems: Track systems are more modern and discreet. They consist of a track that glides along smoothly. They're ideal for heavy or full-length curtains.

-
Tension Rods: Tension rods are adjustable and don't require drilling. They fit snugly between two walls and are perfect for lightweight curtains or temporary installations.

How to Select the Right Curtain Rail?
Choosing the right curtain rail is crucial for both aesthetic and practical reasons. Here are some factors to consider:
- Considering Weight Capacity: Make sure the rail you choose can support the weight of your curtains. Heavy or thick fabrics may require a sturdier rail.
- Matching Curtain Rail to Decor Style: Your curtain rail should complement the overall style of your room. Whether you prefer a sleek, modern look or a more traditional aesthetic, there's a rail out there to suit your needs.
- Budget-Friendly Options: Matt Black Curtain pole and rails come in various price points, so consider your budget when selecting. Remember to factor in additional costs, such as installation tools or accessories.
How to Install a Curtain Rail?
Now, let's get down to business. Follow these steps for a hassle-free installation:
1. Preparing the Installation Area
Before you begin, clear the space where you'll install the rail. Remove any furniture or obstacles that might get in the way, and ensure the wall surface is clean and stable.
2. Marking and Measuring
Using a tape measure and a pencil, determine the desired height for your black nickel curtain poles and mark the positions for the drill holes accordingly. Double-check your measurements to ensure accuracy.
3. Installation Process
Once you've marked the drill holes, it's time to start installing the rail:
Step 1: Mounting Brackets or Supports
Using a drill and the appropriate screws, attach the mounting brackets or supports to the wall at the marked positions. Make sure they're level and securely fastened.
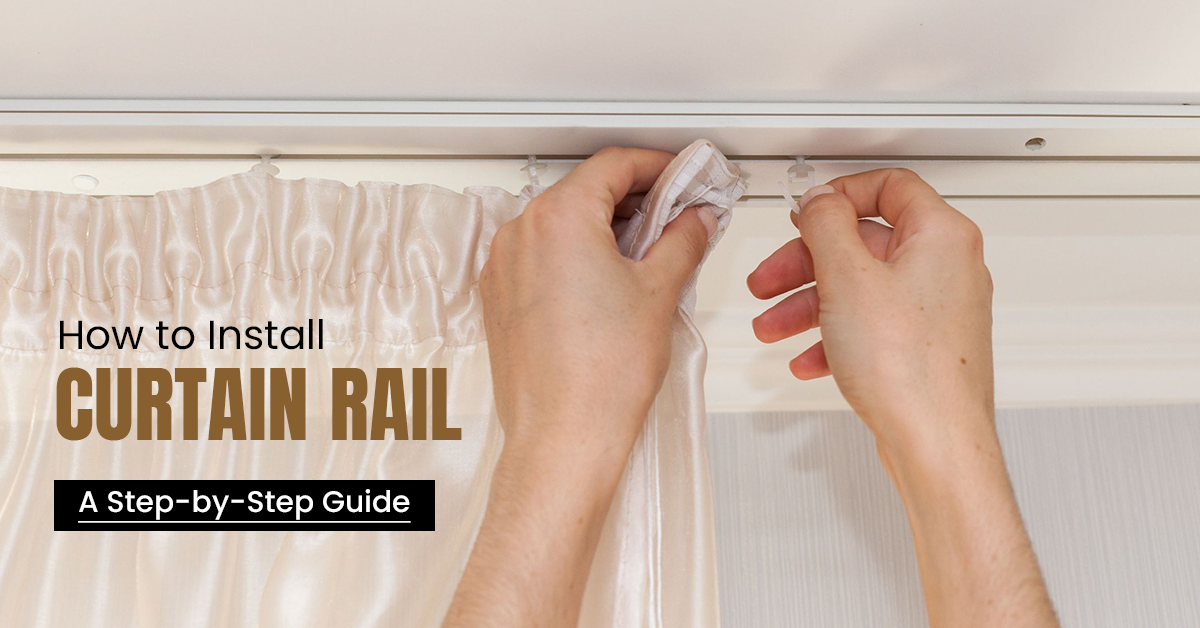
Step 2: Attaching Rail Components
Next, attach the curtain rail to the mounting brackets or supports according to the manufacturer's instructions. This may involve sliding the rail into place or securing it with screws.
Step 3: Securing End Caps or Finials
If your rail has end caps or finials, attach them to the ends of the rail to provide a finished look. These are usually held in place with screws or clips.
4. Mounting Options for Different Surfaces
The method of installation may vary depending on the type of surface you're working with:
- Installing on Plasterboard: Use wall plugs or anchors to provide additional support, especially if you're dealing with a hollow wall.
- Mounting on Brick or Concrete Walls: Drill pilot holes using a masonry bit and insert wall plugs before attaching the mounting brackets.
- Attaching to Tiles: Use a tile drill bit to drill holes in the tiles carefully, then proceed with the installation as usual.
5. Finishing Touches
Once the rail is securely in place, add curtain hooks or rings and hang your curtains. Give the rail a gentle tug to ensure it can support the weight of the curtains without sagging or pulling away from the wall.
Tips for Smooth Installation
Here are some handy tips to keep in mind:
- Using Anchors for Extra Support: If mounting the rail on a plasterboard or drywall, consider using wall anchors or toggle bolts for added stability.
- Ensuring Even Spacing of Supports: Make sure the mounting brackets or supports are evenly spaced along the length of the rail to distribute the weight of the curtains evenly.
- Double-Checking Measurements Before Drilling: Measure twice, drill once! Double-check your measurements to avoid any costly mistakes or misalignments.
Decorating Tips for Curtains
Once your curtain rail is installed, it's time to put the finishing touches on your window treatments:
- Choosing the Right Fabric: Select curtains made from a fabric that complements your decor and provides the desired level of privacy and light control.
- Matching Curtain Length to Rail Height: For a polished look, your curtains should hang just above the floor or sill, depending on your preference.
Conclusion
Installing a curtain rail may seem daunting, but it can be a straightforward DIY project with the right tools and know-how. By following the steps outlined in this guide and considering factors such as weight capacity and decor style, you'll be well on your way to creating a stylish and functional window treatment solution for your home.
FAQs
Can I install a curtain rail without drilling?
Yes, tension rods provide a drill-free option for hanging lightweight curtains.
What tools do I need to install a curtain rail?
You'll need a drill, screws, a tape measure, a pencil, and potentially wall plugs or anchors, depending on your wall surface.
How is my curtain rail suitable for heavy curtains?
Check the weight capacity specified by the manufacturer. If in doubt, opt for a sturdier rail or consider adding extra support.
Can I reuse a curtain rail if I move house?
Yes, curtain rails can typically be removed and reinstalled in a new location with minimal hassle.
How far apart should curtain rail brackets be placed?
Brackets should be spaced evenly along the rail length to ensure adequate support for the curtains. Refer to the manufacturer's guidelines for specific recommendations.